
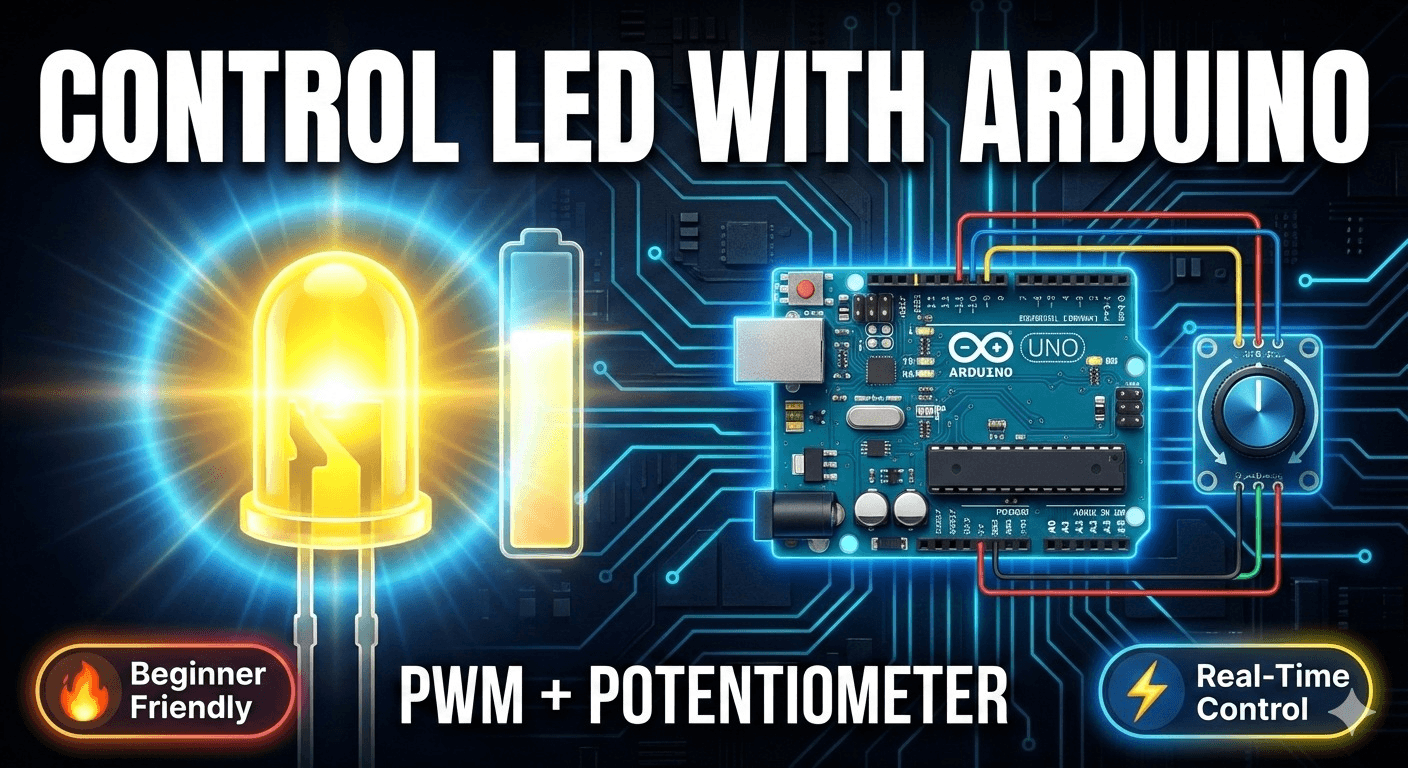
Teaching a Light to Breathe Smoothly — Arduino PWM LED Brightness Control Using Potentiometer
A hands-on intermediate project that bridges analog sensor input and PWM output control. Use a potentiometer to dynamically regulate LED intensity through Arduino's ADC and PWM capabilities.
Overview
Introduction (Why This Project Matters) Every intelligent device — from LED dimmers to robotic actuators — uses PWM for efficient energy management. This project demonstrates a real-time LED brightness control system using an Arduino Uno, where a potentiometer acts as an analog input device to dynamically regulate LED intensity through PWM (Pulse Width Modulation). This project bridges the gap between sensor input processing and actuator output control — a fundamental concept in robotics, automation, and smart devices. It is ideal for beginners, electronics enthusiasts, and embedded systems learners who want to understand the core workflow of: Sensor → Processing → Output Control
Key Features
- Real-time LED brightness adjustment using potentiometer
- Smooth intensity control using PWM signal generation
- Analog to digital data conversion via Arduino ADC
- Efficient power control mechanism
- Beginner-friendly embedded system design
- Scalable for smart lighting applications
Schematics

Official Project Schematic
Figure 1: LED fading circuit schematic. Shows exact connections between Arduino Uno, 10K potentiometer, 220Ω resistor, and LED for accurate implementation.
Code Repository
1void setup() {
2  pinMode(A0, INPUT);
3  pinMode(6, OUTPUT);
4  Serial.begin(9600);
5}
6
7void loop() {
8  short int pot_val = (analogRead(A0));           // Read potentiometer (0–1023)
9  short int maped_val = map(pot_val, 0, 1023, 0, 255); // Map to PWM range (0–255)
10  analogWrite(6, maped_val);                      // Set LED brightness
11}
Step-by-Step Guide
Working Principle
The potentiometer generates an analog voltage based on knob rotation. Arduino reads this voltage using its 10-bit Analog-to-Digital Converter (ADC), producing a value between 0 and 1023. This value is mapped to the PWM range (0–255) and sent to pin 6. The LED brightness changes proportionally to the potentiometer position, creating a direct human control interface for regulating light intensity.
Process Flow
- Potentiometer rotated → Analog voltage changes
- Arduino ADC reads voltage → Value (0–1023)
- map() converts → PWM range (0–255)
- analogWrite() sends PWM → LED brightness changes
- Loop repeats → Real-time continuous control
Observations & Results
Common Mistakes
LED not glowing at all
Wrong polarity or no connection
Reverse LED legs; check all wiring
No brightness change
Potentiometer not connected to A0
Verify middle pin goes to A0
LED always full brightness
Using digitalWrite instead of analogWrite
Use analogWrite() on a PWM pin
LED damaged
No current-limiting resistor
Always use 220Ω resistor in series
Upload error
Wrong port or driver issue
Select correct COM port; reinstall drivers if needed
Erratic brightness
Loose potentiometer connection
Secure all three potentiometer pins firmly
Safety Guidelines
Always disconnect power before changing wiring
Safety First
Never connect LED directly to 5V without resistor
Prevents burning out the LED
Use correct resistor value (220Ω)
Ensures proper current flow
Avoid short circuits on the breadboard
Protects Arduino and components
Handle components carefully
Delicate electronic parts
Only use PWM-capable pins for analogWrite()
Non-PWM pins cannot vary brightness
Learning Outcomes
- Analog signal reading using Arduino ADC
- PWM signal generation for brightness control
- Mapping sensor values to output range
- Embedded system control logic
- Real-time hardware interaction
- Human interface device integration
Future Improvements
LCD brightness display
Show potentiometer value and brightness % on screen
Remote control via Bluetooth
Replace potentiometer with smartphone slider
IoT web control interface
Control brightness from a browser over WiFi
Touch sensor replacement
Use capacitive touch instead of potentiometer
Multi-LED control arrays
Control multiple LEDs or LED strips simultaneously
Automatic ambient light adjustment
Use LDR to auto-adjust brightness based on environment
Human Touch: Our Philosophy
"This potentiometer may be small. But behind it is curiosity. Experimentation. Failure. Retry. Learning. Growth. Every turn of the knob represents a deeper understanding of how machines listen to humans. From a simple brightness slider to smart automation systems — this is where intelligent engineering begins."
Contact & Collaboration
Components (BOM)
- Arduino UnoThe brain of the system. Reads analog input and generates PWM output.x1
- LEDOutput device that visually shows brightness changes.x1
- 220Ω ResistorLimits current to protect the LED from burning out.x1
- 10K PotentiometerAnalog input device. Rotating the knob changes the voltage sent to Arduino.x1
- BreadboardAllows component connections without soldering.x1
- Jumper Wires (Male-Male)Carry signals and power between components.x4–6
- USB CableProgramming & power supply for Arduino.x1
- Computer/LaptopFor coding and uploading the program.x1