
Teaching Arduino to Understand Humans — Morse Code Decoder with LED and Buzzer
An interactive beginner-to-intermediate project that decodes button press patterns into alphabet characters. Learn signal timing, digital input sensing, and real-time embedded communication systems.
Overview
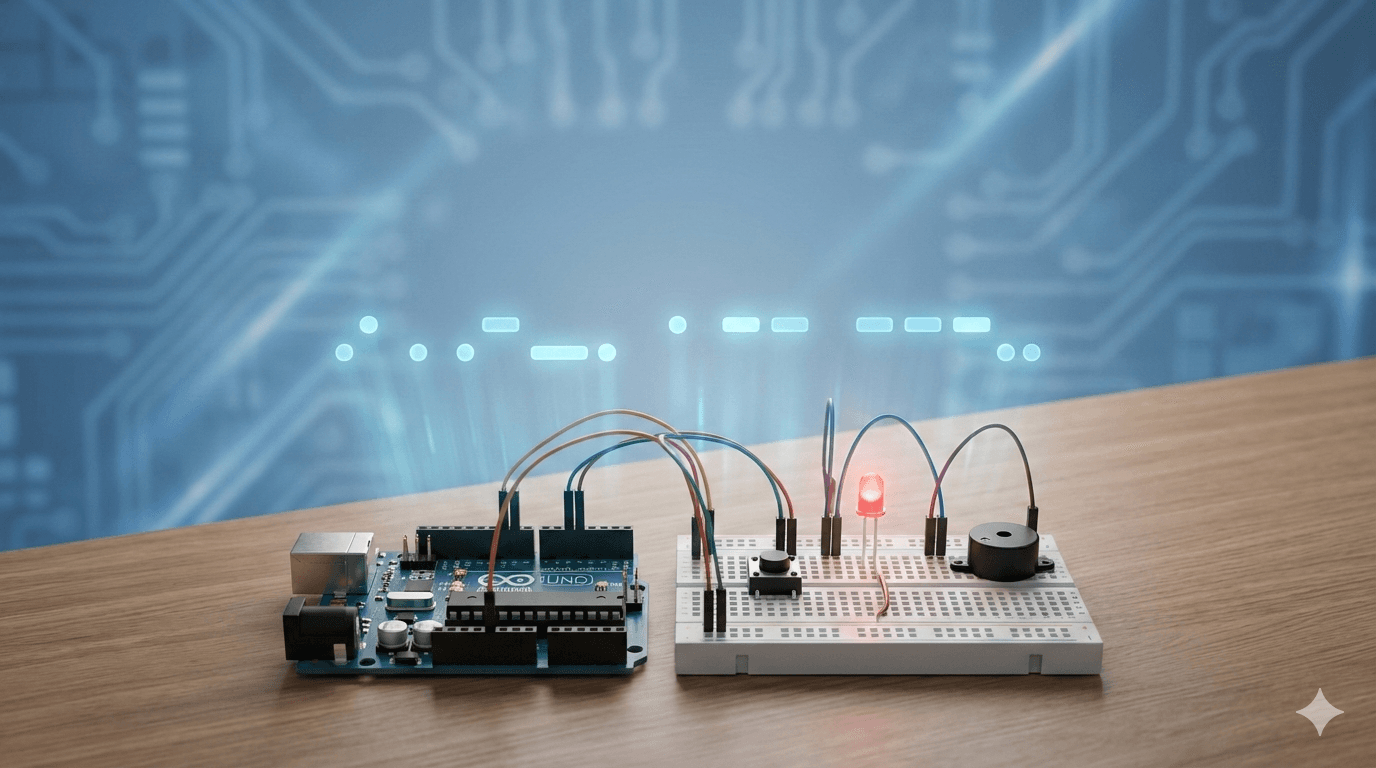
Introduction (Why This Project Matters) Morse code is one of humanity's oldest digital communication systems — and it still works. This project demonstrates a real-time Morse code decoding system using an Arduino microcontroller, push button, LED indicator, and buzzer. The system detects how long a button is pressed to identify Morse symbols (dot or dash) and automatically decodes them into alphabet characters displayed on the Serial Monitor. This project combines: - Embedded programming - Signal processing - User interaction design - Real-time decoding It is an excellent example of practical digital communication implemented using simple hardware — and a powerful step toward understanding how machines interpret human-generated time signals.
Key Features
- Real-time Morse signal detection using button press timing
- Automatic dot and dash recognition (< 300ms = dot, ≥ 300ms = dash)
- Full alphabet decoding from Morse sequences (A–Z)
- LED indicator lights up during signal transmission
- Audio feedback using buzzer during input
- Automatic letter separation using 1-second timing gap
- Serial monitor output for real-time decoded text display
- Beginner-friendly circuit design with minimal components
Schematics

Official Project Schematic
Figure 1: Morse Code Decoder circuit schematic. Shows connections between Arduino Uno, push button (with pull-down resistor), LED, and buzzer for accurate implementation.
Code Repository
1#define BUTTON_PIN 2
2#define LED_PIN 13
3#define buzz_pin 8
4
5unsigned long pressStart = 0;
6unsigned long releaseTime = 0;
7String morseBuffer = "";
8
9void setup() {
10  pinMode(BUTTON_PIN, INPUT);
11  pinMode(LED_PIN, OUTPUT);
12  pinMode(buzz_pin, OUTPUT);
13  digitalWrite(buzz_pin, HIGH);  // Buzzer OFF by default (active LOW)
14  Serial.begin(9600);
15  Serial.println("Morse Code Decoder Ready");
16}
17
18void loop() {
19  int buttonState = digitalRead(BUTTON_PIN);
20
21  // Button pressed
22  if (buttonState == HIGH && pressStart == 0) {
23    pressStart = millis();
24    digitalWrite(LED_PIN, HIGH);   // LED ON
25    digitalWrite(buzz_pin, LOW);   // Buzzer ON
26  }
27
28  // Button released
29  if (buttonState == LOW && pressStart != 0) {
30    unsigned long pressDuration = millis() - pressStart;
31    pressStart = 0;
32    digitalWrite(LED_PIN, LOW);    // LED OFF
33    digitalWrite(buzz_pin, HIGH);  // Buzzer OFF
34
35    if (pressDuration < 300) {
36      morseBuffer += ".";
37      Serial.print(".");
38    } else {
39      morseBuffer += "-";
40      Serial.print("-");
41    }
42    releaseTime = millis();
43  }
44
45  // Detect end of letter (1 second gap)
46  if (morseBuffer.length() > 0 && millis() - releaseTime > 1000) {
47    char letter = decodeMorse(morseBuffer);
48    Serial.print(" -> ");
49    Serial.println(letter);
50    morseBuffer = "";
51  }
52}
53
54char decodeMorse(String code) {
55  if (code == ".-")   return 'A';
56  if (code == "-...") return 'B';
57  if (code == "-.-.") return 'C';
58  if (code == "-..")  return 'D';
59  if (code == ".")    return 'E';
60  if (code == "..-.") return 'F';
61  if (code == "--.")  return 'G';
62  if (code == "....") return 'H';
63  if (code == "..")   return 'I';
64  if (code == ".---") return 'J';
65  if (code == "-.-")  return 'K';
66  if (code == ".-..") return 'L';
67  if (code == "--")   return 'M';
68  if (code == "-.")   return 'N';
69  if (code == "---")  return 'O';
70  if (code == ".--.") return 'P';
71  if (code == "--.-") return 'Q';
72  if (code == ".-.")  return 'R';
73  if (code == "...")  return 'S';
74  if (code == "-")    return 'T';
75  if (code == "..-")  return 'U';
76  if (code == "...-") return 'V';
77  if (code == ".--")  return 'W';
78  if (code == "-..-") return 'X';
79  if (code == "-.--") return 'Y';
80  if (code == "--..") return 'Z';
81  return '?';
82}
Step-by-Step Guide
Working Principle
The system works by measuring the duration of button presses. When the button is pressed, the LED turns ON and the buzzer sounds while Arduino records the start time. When released, the press duration is calculated — short press (< 300ms) = dot, long press (≥ 300ms) = dash. The symbol is stored in a buffer. If no new input arrives for 1 second, Arduino decodes the stored Morse sequence into an alphabet character and displays it on the Serial Monitor.
Process Flow
- Button Pressed → LED ON, Buzzer ON, Timer starts
- Button Released → Duration calculated
- < 300ms = DOT (.) | ≥ 300ms = DASH (-)
- Symbol added to morseBuffer
- 1-second silence → decodeMorse() called
- Decoded letter printed to Serial Monitor
- Buffer cleared → Ready for next letter
Observations & Results
Common Mistakes
Button always reads HIGH
Missing pull-down resistor
Add 10kΩ resistor between button pin and GND
Buzzer always ON
Active LOW buzzer logic misunderstood
HIGH = OFF, LOW = ON for active-LOW buzzers
Wrong letter decoded
Timing too fast or too slow
Adjust the 300ms threshold in the code to match your press speed
No serial output
Wrong baud rate in Serial Monitor
Set Serial Monitor to 9600 baud
LED not lighting up
Wrong polarity or no resistor
Reverse LED legs; add 220Ω resistor in series
Letters decoded too early
1000ms gap too short
Increase the 1000ms timeout value in loop()
Safety Guidelines
Always disconnect power before changing wiring
Safety First
Use 220Ω resistor with LED
Prevents LED burnout
Use 10kΩ pull-down resistor with button
Ensures stable digital readings
Avoid short circuits on breadboard
Protects Arduino and components
Handle components carefully
Delicate electronic parts
Only use digital output pins for LED and buzzer
Analog pins can behave unexpectedly as outputs
Learning Outcomes
- Digital input sensing using push buttons
- Time-based signal measurement using Arduino millis()
- Morse code logic and decoding algorithms
- Serial communication for real-time monitoring
- Visual and audio feedback control
- Embedded system programming fundamentals
- Human input interpretation in microcontroller systems
Future Improvements
LCD display for decoded text
Show decoded letters on screen instead of Serial Monitor
Full word detection
Add spacing logic to detect gaps between words
Wireless Morse transmission
Send decoded messages via Bluetooth or WiFi
Sound frequency differentiation
Use different tones for dots vs dashes
Mobile app interface
Display decoded text on a smartphone app
Memory storage of messages
Save decoded messages to EEPROM or SD card
AI-based adaptive timing detection
Auto-calibrate dot/dash threshold based on user's press speed
Human Touch: Our Philosophy
"Morse code was invented before computers. Before the internet. Before smartphones. Yet it still works — because it speaks the universal language of time. This project teaches you that communication is not about complexity. It is about timing. Patience. Listening. Every dot and dash you press is a step toward understanding how machines learn to listen to humans. From a simple button to intelligent communication systems — this is where it begins."
Contact & Collaboration
Components (BOM)
- Arduino UnoThe brain of the system. Measures button timing and runs the decoding logic.x1
- Push ButtonHuman input device. Short press = dot, long press = dash.x1
- LED (Red or any color)Provides visual feedback during Morse input.x1
- BuzzerProvides audio feedback during button press.x1
- 220Ω ResistorCurrent limiter for LED protection.x1
- 10kΩ ResistorPull-down resistor for push button stable signal.x1
- BreadboardAllows component connections without soldering.x1
- Jumper Wires (Male-Male)Carry signals and power between components.x5–7
- USB CableProgramming and power supply for Arduino.x1
- Computer/LaptopFor coding, uploading, and viewing Serial Monitor output.x1